
One phone, five stages, all of it on screen.
This page follows the making of the Aurelia One commercial through the screen recordings kept while it was built. Each clip below is cut from that footage, and each note describes something visible in it.
- Illustrator
- Plasticity
- Blender
- Nuke / After Effects
Adobe Illustrator
Design
The phone starts as a flat blueprint: proportions first, then the profile, the camera positions and the small openings.


01
Establish the proportions
A plain rectangle on a millimetre grid sets the overall size before any detail exists. The cursor readout reports offsets in millimetres as the shape is placed.
Walkthrough 0:11–0:16
02
Refine the front profile
The rectangle becomes a rounded outline drawn as a doubled contour. A second view is already laid out beside it on the same artboard.
Walkthrough 0:16–0:24
03
Place the camera details
Zoomed into a corner, a circle marks a lens position. The Layers panel splits the drawing by part: Title, Notes, Dimensions, Cameras, a Body group (Top, Bottom, Side, Back, Front) and Guides.
Walkthrough 0:24–0:29
04
Resolve the small details
The lower edge gets its own drawing: a rounded bar holding five small circles and a slot, with the Aurelia One name set above the top view.
Walkthrough 0:29–0:34
Plasticity
Building the form
The drawn curves become solid geometry: a body, ringed lenses, a flash opening and a side profile.


01
Build depth from profiles
The outline sits in the Outliner as numbered curves. In the front view the Extrude panel is set to pick regions from them; the first frame reports 55 regions selected.
Walkthrough 0:36–0:44
02
Shape the lens assembly
From the back, concentric circles define each lens housing. Selecting a circle and extruding it by a small distance gives the ring real thickness, so the rim catches light later.
Walkthrough 0:44–0:52
03
Refine the flash detail
In perspective, the two raised lens rings, the small flash opening between them and the rounded body edge read as one object.
Walkthrough 0:52–0:58
04
Work through the side profile
Seen edge-on, the body is a thin slab. The Outliner now lists five extruded solids, Extruded.001 to Extruded.005, alongside measurement objects.
Walkthrough 0:58–1:03
Blender
Materials and lighting
The model moves into Blender, where it is checked part by part, given surfaces, and placed inside a studio built from lights, cards and flags.


01
Inspect the model in 3D
Orbiting the phone in a direction-shaded view shows how the surfaces curve. The Outliner lists parts individually: flash diffuser, LED emitter and reflector, front glass and several lens elements.
Walkthrough 1:05–1:11
02
Review materials and reflections
A dark back panel is checked up close. Its Bevel modifier is set to an offset width of 0.00006 m, two segments and an angle limit, which gives the edges a thin highlight-catching chamfer.
Walkthrough 1:11–1:17
03
Explore the studio rig
The scene collection reads like a photo studio: a cyclorama, key and fill softboxes, left and right rim strips, a rear kicker and top edge strip, a gradient background, five white cards and a 10 cm scale reference.
Walkthrough 1:17–1:23
Blender / Cycles
Animation and rendering
Cameras are framed against the phone, the title lettering is lit, and the motion is keyed and reviewed before the final render.


01
Check the phone in scene
A plain grey phone sits inside the camera frame. The render panel shows Cycles with a viewport limit of 1024 samples and a final-render limit of 4096, with denoising enabled for the render.
Walkthrough 1:23–1:27
02
Shape the logo reveal
The AURELIA lettering curves across the frame in a dark scene. The viewport reads Updating Shaders while the lighting is adjusted to rake across the letters.
Walkthrough 1:27–1:33
03
From viewport to render preview
A close camera, labelled Hero_85mm in the viewport, frames the lens ring and flash. This is a grey solid view of the same framing that is later rendered.
Walkthrough 1:33–1:41
04
Review the keyframed turn
Seen edge-on, the phone turns while yellow keyframe markers run along the timeline. The scene file is named Shot 006, Chunk 4, Motion Polish.
Walkthrough 1:41–1:49
Nuke and After Effects
Compositing and finishing
Renders are reviewed in Nuke, the lock screen is built in After Effects, and the pieces are put together into the shot.


01
Review the rendered reveal
A Read node loads the Shot 001 EXR sequence, frames 1 to 250 at 3840 × 2160, and the Viewer plays through the wordmark reveal.
Walkthrough 1:49–1:56
02
Preview the layered display
The lock screen is a 1440 × 3200, 24 fps After Effects composition named Screen Animation, with separate Indicator, Camera and Flashlight layers and a 09:41 clock.
Walkthrough 1:58–2:02
03
Bring the display into the shot
In Nuke the screen is placed into the render through an STMap driven by a utility pass from Shot 005, then graded (multiply 0.9, gamma 1.03 on Grade2) and merged back over the beauty.
Walkthrough 2:02–2:10
Preview to final
The same camera move, before and after
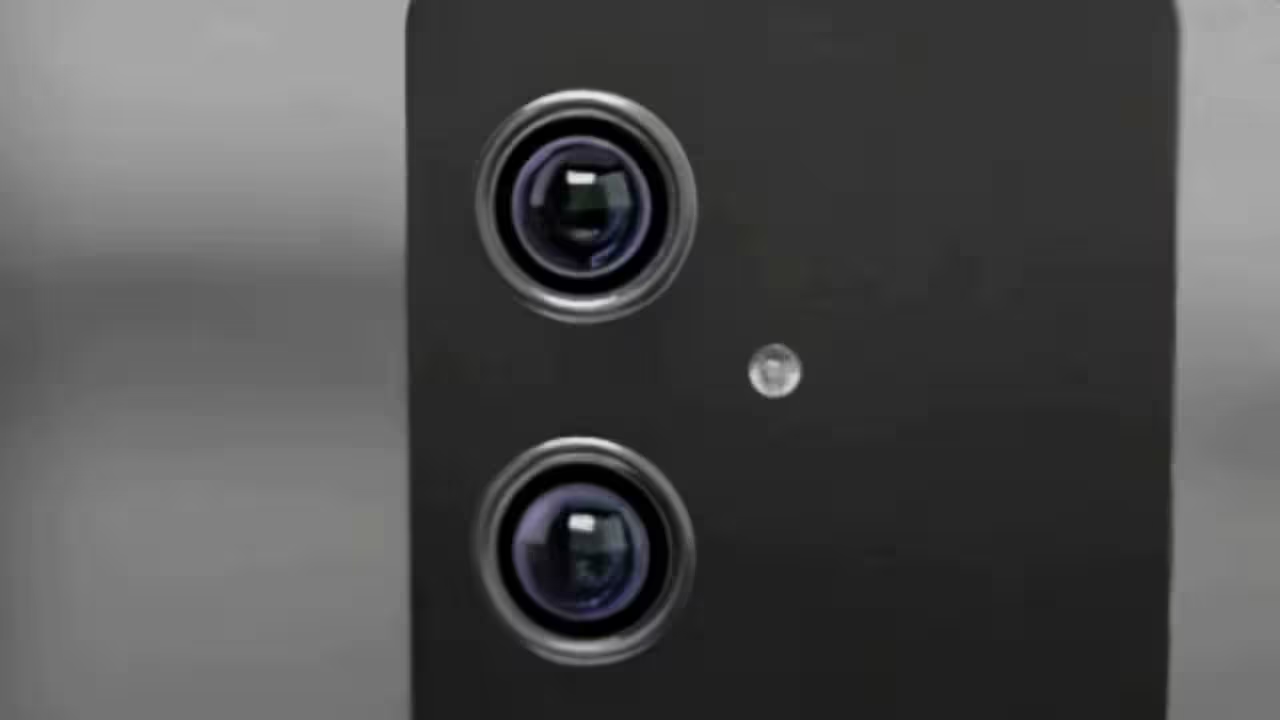
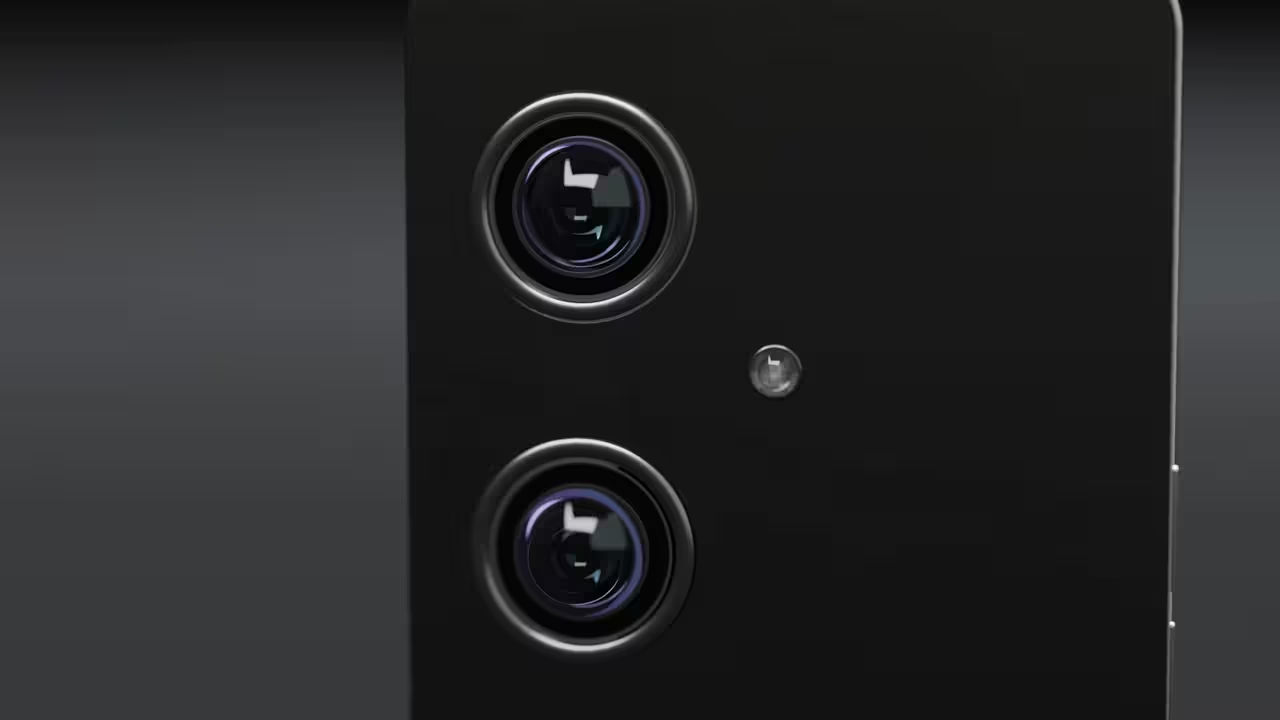
The walkthrough puts the animation preview and the final composite side by side. The preview source is only 480 × 270, so the left panel is soft by nature. The right panel adds lens-glass reflections, a clean flash and a darker surface.
Drag the divider or use the slider to compare. The clip plays once; replay it at any time.
Finished commercial
The result
Six frames from the finished shots, in the order they play in the commercial: a wordmark, a lens, the back of the phone, a macro, a glass edge and a turn.


That is the whole film, one stage at a time.
The finished commercial plays from the case study, which also carries the stills, render passes and technical notes behind these clips.